
Author: Tosh Lubek Published: 24th July 2023
DIY Video Studio is supported by its readers who use the affiliate links or ads on this site. As an Amazon Associate, I earn from qualifying purchases. Thank your support if you use any of the links.
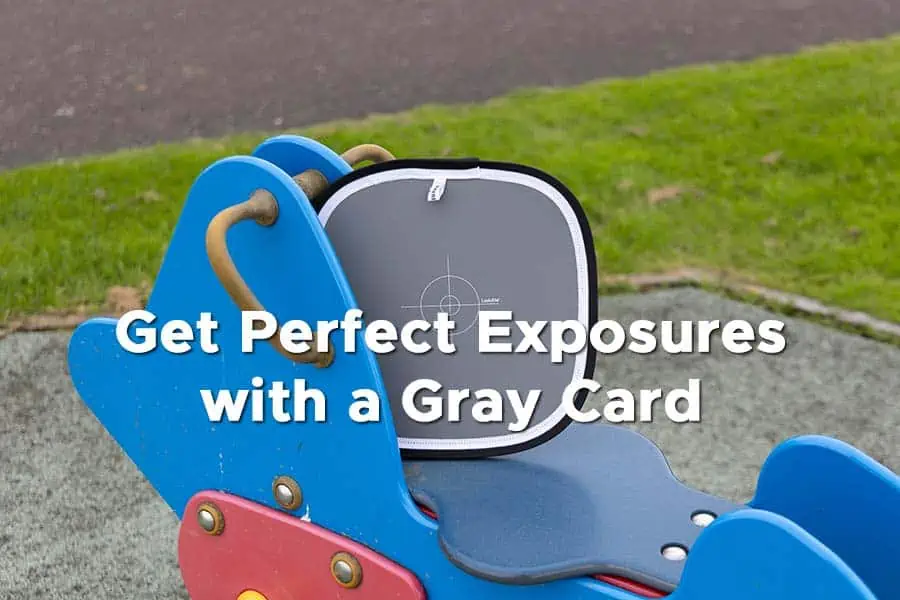
No matter what light you’re using in your photo shoot, you can get perfect exposure every time if you use a gray card. In this article, I’ll explain what we mean by a correctly exposed image and show you how a gray card and your camera’s light meter to nail the exposure.
I’ve created two versions of this post, a traditional article with text and images, and a video. Here’s the video, but you can scroll down and continue reading, where you can easily skip or re-read sections. I’ve also included links to gray card products that you might find useful.
Human eyes do a fantastic job of making sense of the world around us. They let us see details in the shadows, mid-tones, and highlights. So, the range of tones we can see is very wide. Cameras, however, are different. They have a more limited dynamic range, so can’t “see” the same range of tones that we can.
The camera must compromise, so it assumes the perfect exposure is around the middle of that range or the average brightness. This is where the concept of middle gray comes in.
What is middle gray
The average reflectance of a scene, across all colors is about 18%, which is regarded as middle gray, and is perceived as being about halfway between black and white.
To illustrate what I mean, here is an image that is correctly exposed, and, on the right, I have averaged the image. As you can see, the average turns out to be middle gray.
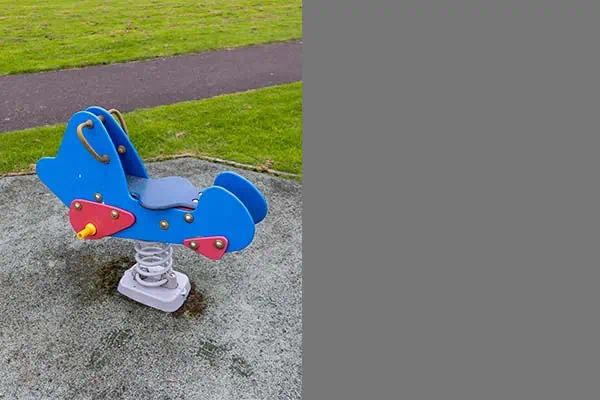
Despite being known as middle gray, it isn’t entirely gray, or without any color. Middle gray is very slightly warm, being a shade of brown with low saturation. It has a hexadecimal color code #8b8680 or RGB values of 139, 134, and 128 respectively. To the eye, middle gray appears as a slightly yellowed gray.
This information can be used to create a useful photography tool, the so-called gray card.
What is a gray card in photography
A gray card is a reference card that matches middle gray or 18% gray, irrespective of the lighting situation and the color of the light. Photographers and videographers can use gray cards to set the correct exposure of any scene and get consistent results.
In addition, the gray card can be used to set the white balance of the camera so that colors remain the same across all images.
There are numerous types of gray cards. These include foldable and credit card-shaped versions.
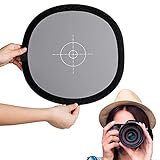
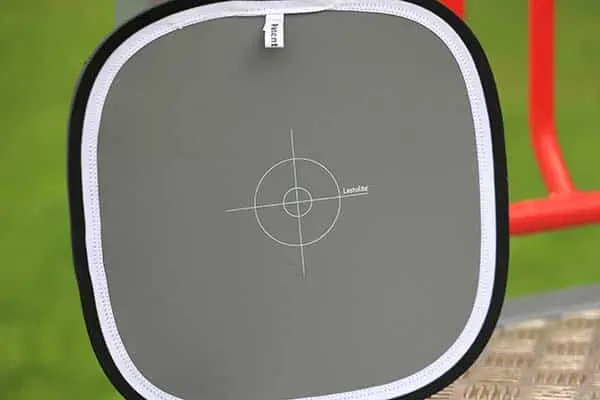
The foldable gray cards are usually square and about 12 inches across, although other sizes are also available, such as 20 or 24 inches. These tend to be gray on one side and white on the other. In their physical form, they are like mini collapsible backgrounds, having a sprung metal rim holding the middle gray fabric surface. After use, they can be folded and packed away for storage.
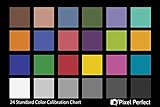
Credit card-shaped cards can be the size of a credit card or several inches on each side. They also come in a range of layouts. They can be all gray or include white and black samples to set your black, gray, and white points in your editing application. Some gray cards also include color checkers where black, gray, and white squares are shown together with various other reference colors.

Last update on 2025-10-11 / Affiliate links / Images from Amazon Product Advertising API
Using your camera’s exposure meter
Modern cameras have a built-in light meter that is used when your camera is in auto or semi-auto mode to get a perfect exposure. But if your camera is in manual mode, you get direct access to the light meter.
On my Canon EOS R cameras, the light meter appears near the bottom of the display, between the aperture and ISO settings. It has a graduated scale and goes from -3 to +3 in one-third stop increments. There’s an arrow or pointer in the middle or zero point and normally that’s all you will see.
When shooting in an auto or semi-auto mode, this scale is used for exposure compensation. But in manual mode, it’s your light meter, although most of the time it doesn’t seem to do anything. To activate the light meter, you need to half-press the camera’s shutter.
If the current exposure is within -3 and +3 stops of the correct exposure, you’ll see a vertical line below the scale indicating the current exposure.
But if the exposure is outside of that -3 to +3 range, an arrow is displayed on the left or right of the scale indicating whether the exposure is below -3 or above +3.
To adjust the exposure so that it is correct, as far as the camera is concerned, change the settings so the vertical line is directly below the zero marker on the exposure meter scale. Obviously, you can adjust the shutter speed, aperture, and ISO in combination or fix one or two and then adjust the third exposure control.
When you have got the line in the middle of the exposure meter scale the camera will be corrected exposed, although this also depends on the metering mode you are using. But generally, I would be using the evaluative mode.
Why the camera sometimes gets the exposure wrong
Most of the time your camera does a good job of setting the exposure correctly. That’s because usually, the subject is more or less somewhere in the middle of the overall tonal range.
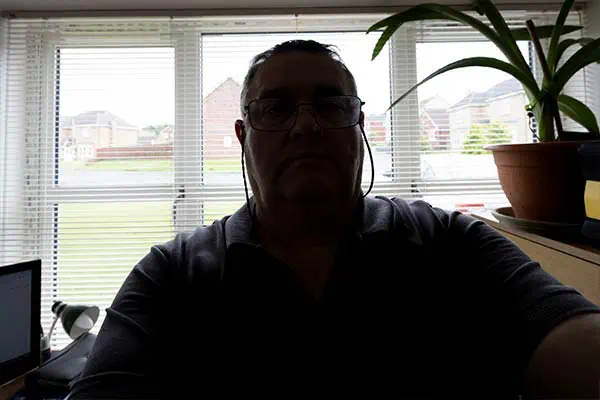
But the camera can get it wrong if a lot of the image is very bright or very dark. This will shift the middle tone either up or down, fooling the camera. Here are two examples of what I mean.
In the first I stood in front of a bright window, making the camera assume it had to lower the exposure, resulting in me being badly underexposed.
In the second image, I was in front of a black fence, fooling the camera into increasing the exposure. Consequently, I appear overexposed.

Clearly, your camera’s exposure meter will only adjust the setting correctly for a well-exposed image if the average brightness of the scene is equal to middle gray. To ensure the exposure settings are correct we need to ensure the scene, or at least part of it, is middle gray. Fortunately, we already know that the gray card is middle gray, which brings us to the final step in setting the perfect exposure.
Using a gray card to set the correct exposure
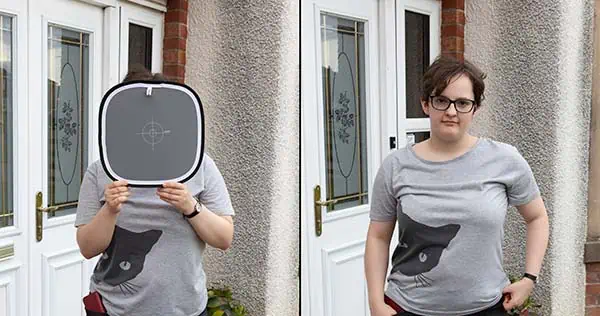
We can make the frame, or part of it, match middle gray by placing a gray card in front or beside the subject.
For the subject is a person, get them to hold the gray card in front of their face, as you can see in the pair of images below.
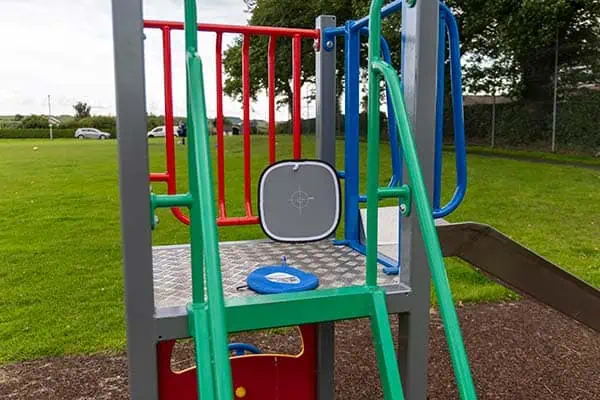
For non-human subjects place or place the gray card in front, on, or beside it, as I have done with this play park climbing frame and slide.
You probably already know that there are different exposure modes. If your camera is in evaluative mode, try and have the gray card fill as much of the frame as possible. If that’s not possible switch the exposure mode to center weighted or spot metering.
Now place the gray card in the center of the frame, or with spot metering you can move the focus point over the gray card. Next, make sure you are in manual mode, then half-press the shutter button. The exposure meter will be activated, and you can adjust your settings until the exposure meter is in the middle. Finally, remove the gray card, and take your photos.
Provided the lighting does not change your exposure will remain correct. But if your subject moves around or if the daylight changes (if shooting outdoors), you’ll need to check the exposure again.
Although using a gray card will technically give you the correct exposure, you may want to just use this as a starting point and make any creative adjustments. For instance, you might want to bring down the exposure to capture some detail in the sky or prevent other highlights from blowing out. This is where you can also use your camera’s histogram.
How to adjust your exposure using a gray card
I’ve been asked which exposure settings you should adjust when changing the exposure. The reality is that you should make your adjustments in the same way you would normally.
For instance, if you’re shooting a portrait, you’ll probably fix the aperture, especially if you want creamy bokeh. Therefore, you’ll need to use the shutter speed and ISO to adjust the exposure.
Here’s a big ask from me: If you liked this article, please share it.
It will mean a great deal to me if you share this post because a few seconds of your time will seriously help my blog grow. The share buttons are below the “About Author” section.
Thanks. 🙂
Source: Middle Gray![]()

About the author: Tosh Lubek is a multi-award-winning broadcaster, writer, and video producer, with 40 years of experience in professional broadcasting and has been using Canon video and stills cameras since 2010. He has worked with radio and TV broadcasters, advertising agencies, and direct clients on a variety of projects including radio and television advertising, online video production, corporate videos, award ceremony motion graphics, and theme park sound design. Tosh has won numerous awards, including a Radio Academy Awards Gold Sony, a Gold, Silver, and Bronze World Medals in the New York Festivals International Advertising Awards. Since about 2007 he has been creating YouTube videos. Tosh has been a sponsor of the “video booth” at HashTag Business Events across the UK.
Recent Posts
Most people use sandbags the wrong way. Here’s how to hang them properly on a light stand for maximum stability and safety — plus what to fill them with.
You're Using the Canon RF 50mm f/1.8 WRONG! Here’s How to Fix It
If you’ve recently picked up the Canon RF 50mm f/1.8 STM—affectionately known as the Nifty Fifty—you might be confused by that strange switch on the side of the lens. It doesn’t say AF/MF...