
If you’re using lightweight or budget light stands, a sandbag can make all the difference between a smooth shoot and a toppled softbox.
Sandbags help anchor your lighting setup by lowering the center of gravity and preventing your gear from tipping over. But they only work properly if you use them the right way.
The Common Mistake Everyone Makes
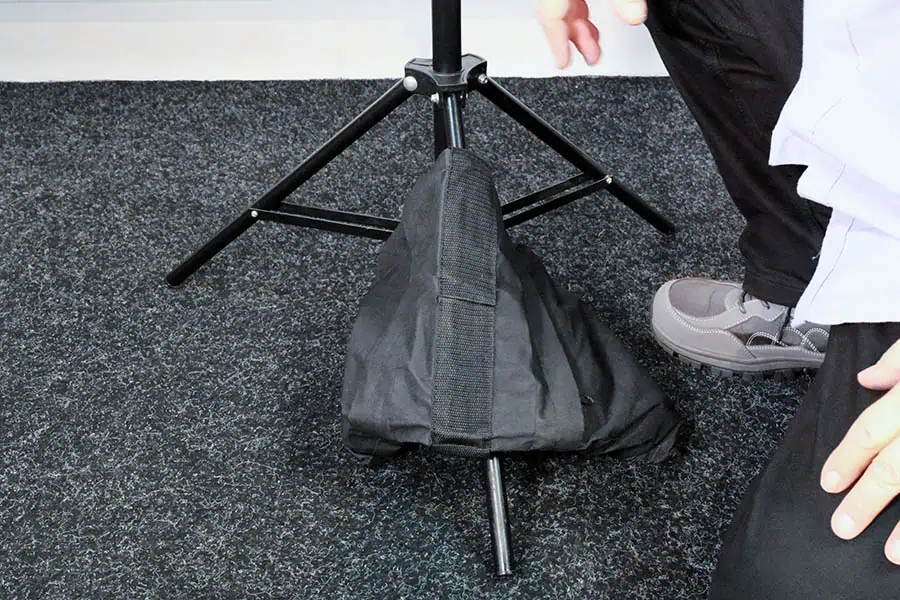
Most people simply drop their sandbag so it rests on the floor.
It looks stable, but the problem is that most of the sandbag’s weight bypasses the stand. The downward force doesn’t transfer through the leg — meaning your light stand isn’t actually any safer.
When the bag touches the ground, it’s not doing its job. You might think it’s secure, but one small nudge or breeze can still bring your setup crashing down.
The Correct Way to Use a Sandbag
To properly stabilize your light stand, the sandbag needs to hang off the ground so its weight transfers directly through the stand.
There are two reliable methods:
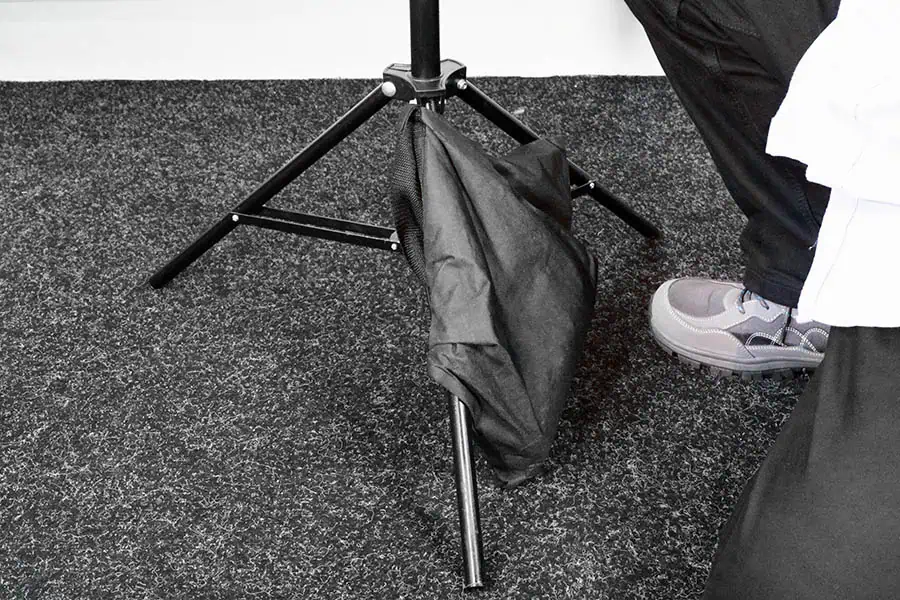
1. Hang the Sandbag Over a Leg
Feed the sandbag between the leg and the support struts so it hangs just above the ground.
This ensures the weight pulls straight down on the leg, anchoring it firmly to the floor. You’ll notice immediately how much sturdier your setup feels.
2. Use the Handle Strap
If your sandbag has a handle, loop it over the stand’s central column before tightening the knobs.
This method keeps the sandbag neatly suspended and stops it sliding around. It’s a tidy, professional-looking solution that works especially well on location.

What to Fill Sandbags With (Instead of Sand)
Here’s a quick practical tip from my YouTube Shorts series — you don’t have to use sand at all.
Sand is messy, heavy, and can leak dust over time. There are better, cleaner alternatives:
- Fine gravel or pea shingle: Heavier than sand, drains quickly, and won’t cause dust.
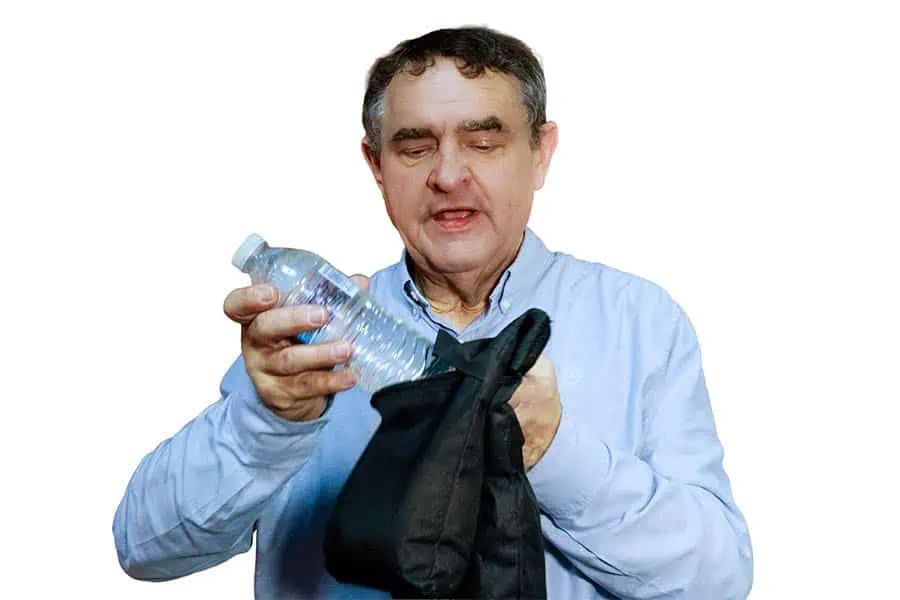
- Small water bottles: Perfect if you travel often or need removable weight. Fill and empty them on-site.
- Steel shot, metal pellets, nuts and bolts: Great for compact, heavy sandbags (though more expensive).
If you’re shooting on location, the water bottle method is brilliant — empty them for travel, refill at the venue, and you’ve got instant counterweights with zero mess.
How Much Weight Should You Use?
For lightweight light stands, 1–3 kg (2–7 lb) per stand is usually enough.
Larger C-stands or heavy modifiers might need double that.
You’re not trying to pin the stand to the floor — just create enough downward force to stop the stand tipping over. However, if you are shooting outdoors with a large softbox or umbrella, you will need more weight since your light modifier will act as a sail in anything other than a light breeze.
Extra Stability Tips
- Keep the heaviest leg facing the light or modifier for better balance.
- Use rubber mats or grip tape on smooth floors.
- Double up sandbags for your key light — it’s usually your most top-heavy setup.
- Always test stability before leaving your setup unattended.
Recommended Gear
If you’re building your kit on a budget, these are reliable, affordable options for creators and photographers:
Sandbags: [Amazon Link: Light Stand Sandbags (4-Pack)![]() ]
]
Light Stands: [Amazon Link: Photography Light Stand (2-Pack)![]() ]
]
Softboxes: [Amazon Link: NEEWER 35″/90cm Octagonal Softbox with Honeycomb Grid]
(DIY Video Studio is supported by its readers who use the affiliate links or ads on this site. As an Amazon Associate, I earn from qualifying purchases. Thank your support if you use any of the links.)
Watch the Full Tutorial
See this tutorial in action in my YouTube video:
“How to Properly Use a Sandbag on a Light Stand (Most People Get This Wrong)”
Watch the correct and incorrect methods side-by-side to see the difference real stability makes.
Final Thoughts
A properly placed sandbag might seem like a small detail — but it’s one that protects your lights, saves your gear, and makes your entire setup feel professional.
Remember:
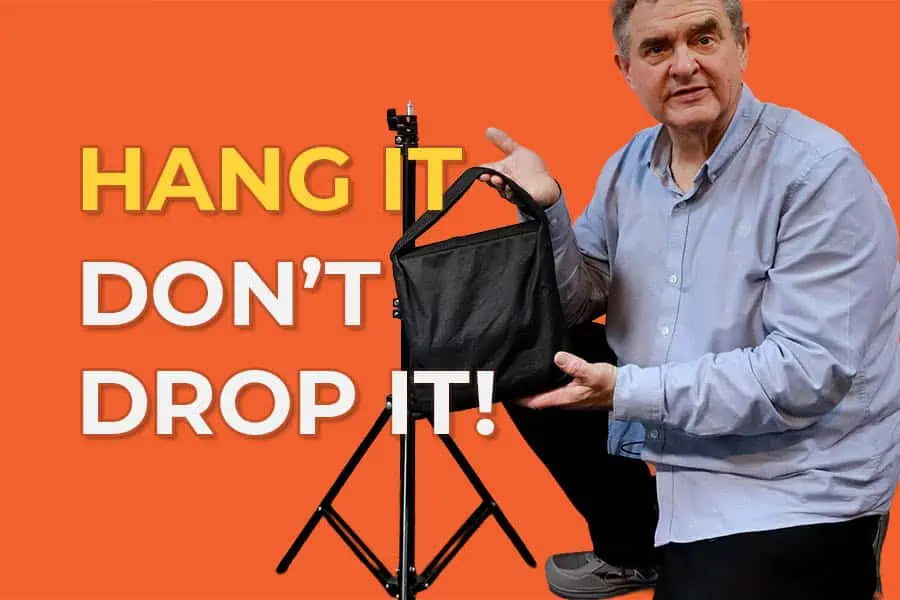
If your sandbag touches the ground, it’s not doing its job.
Hang it, don’t drop it — and keep your shoots safe, smooth, and stress-free.

About the author: Tosh Lubek is a multi-award-winning broadcaster, writer, and video producer, with 40 years of experience in professional broadcasting and has been using Canon video and stills cameras since 2010. He has worked with radio and TV broadcasters, advertising agencies, and direct clients on a variety of projects including radio and television advertising, online video production, corporate videos, award ceremony motion graphics, and theme park sound design. Tosh has won numerous awards, including a Radio Academy Awards Gold Sony, a Gold, Silver, and Bronze World Medals in the New York Festivals International Advertising Awards. Since about 2007 he has been creating YouTube videos. Tosh has been a sponsor of the “video booth” at HashTag Business Events across the UK.
Recent Posts
You're Using the Canon RF 50mm f/1.8 WRONG! Here’s How to Fix It
If you’ve recently picked up the Canon RF 50mm f/1.8 STM—affectionately known as the Nifty Fifty—you might be confused by that strange switch on the side of the lens. It doesn’t say AF/MF...
Recently, I shot several customer testimonial videos in 4K for a client when the overheating warning on my Canon EOS R6 appeared. In fact, it appeared three times in five sessions during the day of...