
Author: Tosh Lubek Published: 7th March 2023
DIY Video Studio is supported by its readers who use the affiliate links or ads on this site. As an Amazon Associate, I earn from qualifying purchases. Thank your support if you use any of the links.
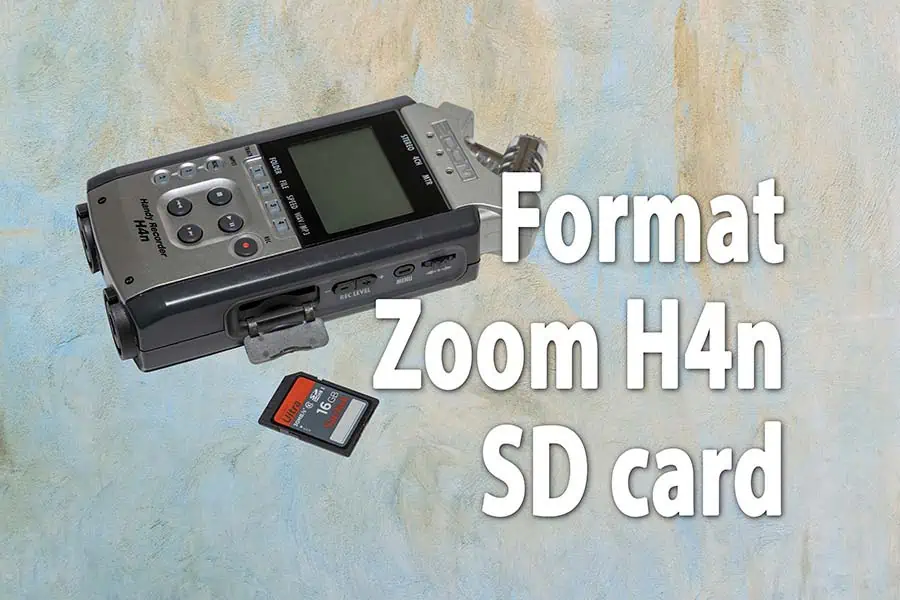
Today I’ll show you how I install and format an SD card in my Zoom H4n, although the process is the same on a Zoom H4n Pro Handy recorder.
First, you’ll need a compatible SD card, which is most SD or SDHC cards up to 32Gb in size. Do not use a larger capacity card since it won’t work and will probably cause the H4n record to hang. However, I’d recommend using a 4, 8, or 16Gb card, if you can find one that is of such a small size. Those will give you plenty of recording time, and smaller SD cards allow the Zoom H4n to load more quickly after power-up.
Installing the SD card in your Zoom Handy Recorder
With the recorder switched off, open the cover over the card slot. You’ll find it on the right side of the Zoom recorder. Prise the cover away by using a fingernail. The cover is hinged at the bottom and will hang open.
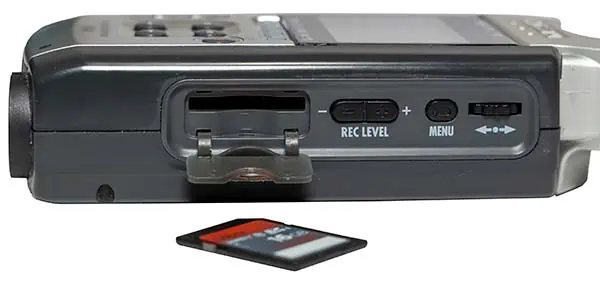
If you look carefully, there’s a symbol showing the correct way to insert the card. It’s got a notch on the front right corner, so the gold contacts face downwards, and the label points up. Slide it all the way in until it clicks into place. Then close the plastic cover.
Formatting the H4n SD card
Power up the Zoom recorder with the power slider on the left side of the Zoom recorder. Once the H4n has loaded, press the MENU button that’s on the side of the device. This will open the H4n’s menu screen.
To move through the menu use the scroll dial or wheel that’s beside the MENU button. You can roll it up or down and confirm a selection by pressing the dial.
Use the scroll dial to move through the menu until you get to SD CARD. Now push down the scroll dial to enter the SD CARD menu screen.
There are two options. REMAIN tells you how much recording time and space you have remaining. But you need to scroll down to FORMAT and press the scroll dial. A confirmation screen opens. Select YES and press down the scroll dial.
The Zoom H4n will show “Please Wait” while it formats the SD card. This will take a little while, but eventually, you’ll see “Complete” displayed on the screen and then the recorder will load and return to the regular play and record screen.
Here is a summary of the H4n SD card formatting process.
- Insert the SD card into the card slot.
- Power up the H4n recorder.
- Press the MENU button to open the recorder’s menu system.
- Use the scroll DIAL to scroll down to SD CARD, then press the scroll DIAL again.
- Select FORMAT and press the scroll DIAL.
- Choose “Yes” and press the scroll DIAL to initiate the formatting of the SD card.
Once the card format has been completed, you will see that the H4n screen displays “No Data”. This indicates any recordings that were on the card have gone and you now have an empty card to work with.
Down at the bottom right you can also see the available recording time on the SD card, based on your current recording settings.
After formatting a SanDisk Ultra SDHC card the H4n showed I had 15h:11m:21s of recording time available on the card. That was with the H4n set to record at its best quality setting of 48kHz/24bits in STEREO mode. When I changed to 4 Channel mode at 48kHz/16 bit I had 7h:35m:40s of recording time.
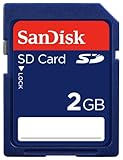
Here is a selection of SD cards that are ideal for Zoom Handy recorders.


Last update on 2025-10-20 / Affiliate links / Images from Amazon Product Advertising API
Conclusion
As you have seen, installing and formatting an SD card in your Zoom H4n Handy Recorder is a simple process that can be done quickly and easily. Ensure you use a compatible SD card that is not larger than 32Gb. Using a smaller capacity card will allow the H4n to load more quickly after power-up. Once you have inserted the SD card, formatting it is a straightforward process that involves accessing the SD CARD menu and selecting the FORMAT option. After the formatting process is complete, any recordings on the card will be erased, and you will have an empty card to work with. By following these steps, you can ensure that your Zoom H4n Handy Recorder is ready for high-quality audio recording and a fast boot-up time.
Here’s a big ask from me: If you liked this article, please share it.
It will mean a great deal to me if you share this post because a few seconds of your time will seriously help my blog grow. The share buttons are below the “About Author” section.
Thanks. 🙂

About the author: Tosh Lubek is a multi-award-winning broadcaster, writer, and video producer, with 40 years of experience in professional broadcasting and has been using Canon video and stills cameras since 2010. He has worked with radio and TV broadcasters, advertising agencies, and direct clients on a variety of projects including radio and television advertising, online video production, corporate videos, award ceremony motion graphics, and theme park sound design. Tosh has won numerous awards, including a Radio Academy Awards Gold Sony, a Gold, Silver, and Bronze World Medals in the New York Festivals International Advertising Awards. Since about 2007 he has been creating YouTube videos. Tosh has been a sponsor of the “video booth” at HashTag Business Events across the UK.
Recent Posts
Most people use sandbags the wrong way. Here’s how to hang them properly on a light stand for maximum stability and safety — plus what to fill them with.
You're Using the Canon RF 50mm f/1.8 WRONG! Here’s How to Fix It
If you’ve recently picked up the Canon RF 50mm f/1.8 STM—affectionately known as the Nifty Fifty—you might be confused by that strange switch on the side of the lens. It doesn’t say AF/MF...