
DIY Video Studio is supported by its readers who use the affiliate links or ads on this site. As an Amazon Associate, I earn from qualifying purchases. Thank your support if you use any of the links.
Author: Tosh Lubek Published: 7th December 2023
I’m sure we’ve all been there: you’re working on a project in Premiere Pro, and for whatever reason, the Work Area Bar above the video sequence is missing. It’s not a major issue, but it can be annoying, especially if it brings a halt to your editing because you need to search online for a method of restoring it.
In this short tutorial article, I’ll quickly explain what the Work Area Bar is in Premiere Pro and provide step-by-step instructions to restore by using the sequence menu.
If you’re in a hurry, click the link to jump ahead to details of how to restore the missing Work Area Bar in Premiere Pro.
What is the Work Area Bar in Adobe Premiere Pro
The work area bar in Premiere Pro defines the specific portion of your video’s timeline or sequence where operations are focused.
Features of the Work Area Bar:
- Sets the Render Area: When you hit Enter to render the clips in the video sequence, only the clips within the work area bar will be rendered. This can speed up the rendering time since any effects outside of the work area bar will not be rendered. Therefore, only the relevant sections of the timeline are processed, saving time and resources.
- Defines the Export Area: The work area bar restricts the region of the timeline that will be exported. Provided this region has been defined by the work area bar, media clips outside of this region will be excluded from the export.
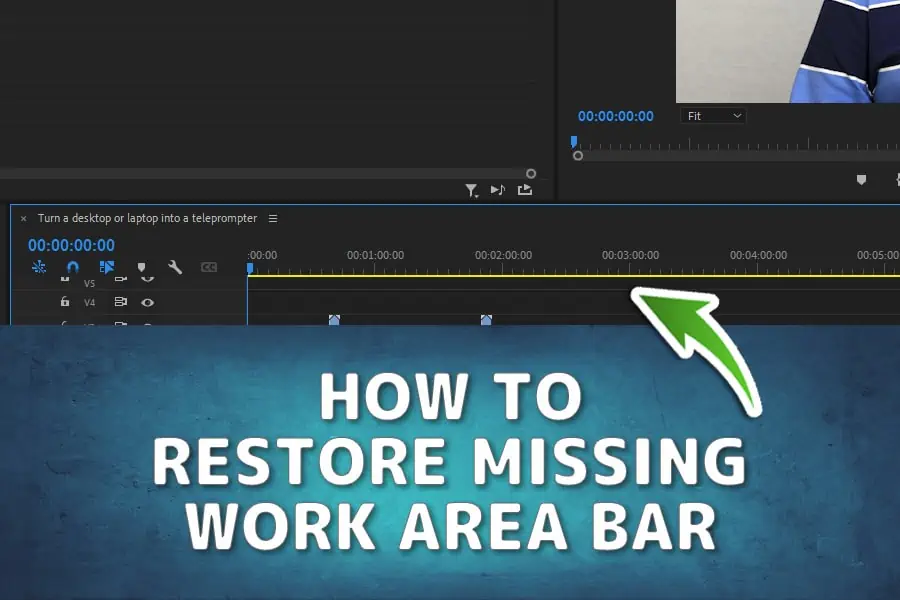
Where is the Work Area Bar located
The work area bar is positioned at the top of the video timeline. It is the light gray bar with blue end handles that sits just above the timeline. The middle of the work area bar also has three vertical dark gray lines.
How to Enable or Disable the Work Area Bar
To enable or disable the Work Area Bar, you’ll first need to access the sequence menu.
Follow these steps:
- Open the Sequence menu, by clicking on the “hamburger” style menu icon of three stacked lines to the right of the sequence name. This is in the top left corner of the sequence panel. Unless you gave the sequence a name, it may be something like “Sequence 01”.
- From the drop-down menu, locate the “Work Area Bar” option.
- To enable the bar and make it visible in the sequence timeline, ensure the checkbox next to “Work Area Bar” is ticked. To remove the Work Area Bar, you need to disable it by unchecking the box.
Setting and moving the Work Area Bar region
To move the start or end points of the work area bar, click on a blue start/end handle and hold down the mouse button. You can then drag the handle to the required position on the timeline. If you hover over the three vertical lines in the middle of the bar, the cursor will change to a hand. You will then be able to grab the bar and move it along the timeline to a new location without changing the length of the bar.
Why is the position of the Work Area Bar important?
The position and extent of the work area bar defines the part of the timeline that will be rendered or exported. If you have additional media clips in the sequence, possibly an alternate edit or source clips, these could accidentally end up in your exported video.
I have done this myself, through inattention. My upload to YouTube ended up being almost an hour long, with my edited video at the start, followed by black video with no sound and then seemingly random audio and video clips (the clips I hadn’t used in the final cut). Fortunately, a friend in North Carolina spotted my error, messaging me before too much harm was done.
Benefits of Enabling or Disabling the Work Area Bar
- By enabling the Work Area Bar, you can limit the export from the sequence to a defined area within the range of the bar. Since only the work area is exported, it saves time and computational resources. It can also prevent other media clips from being included in the exported file.
- If you need to check how a part of your sequence plays back, you can reduce the render time by restricting the Work Area Bar to just that region, saving time and computational resources.
- Disabling the Work Area Bar can be useful when the timeline only includes the edited sequence. This will ensure that the entire video is rendered or exported.
- Since the Work Area Bar takes up a small amount of space at the top of the timeline, you can recover a small amount of vertical screen space in the sequence panel by disabling the bar. Although it will not recover a lot of space, it might be enough for your purposes.
Conclusion
The Work Area Bar is a valuable tool that can enhance your editing experience in Premiere Pro. By effectively defining the area of focus, it can speed up your workflow, reduce render times of clips with effects added to them, and limit the region of the sequence that will be exported. I have occasionally lost the Work Area Bar in Premiere Pro while editing, presumably through accidentally hitting a keyboard shortcut.

About the author: Tosh Lubek is a multi-award-winning broadcaster, writer, and video producer, with 40 years of experience in professional broadcasting and has been using Canon video and stills cameras since 2010. He has worked with radio and TV broadcasters, advertising agencies, and direct clients on a variety of projects including radio and television advertising, online video production, corporate videos, award ceremony motion graphics, and theme park sound design. Tosh has won numerous awards, including a Radio Academy Awards Gold Sony, a Gold, Silver, and Bronze World Medals in the New York Festivals International Advertising Awards. Since about 2007 he has been creating YouTube videos. Tosh has been a sponsor of the “video booth” at HashTag Business Events across the UK.
Recent Posts
Most people use sandbags the wrong way. Here’s how to hang them properly on a light stand for maximum stability and safety — plus what to fill them with.
You're Using the Canon RF 50mm f/1.8 WRONG! Here’s How to Fix It
If you’ve recently picked up the Canon RF 50mm f/1.8 STM—affectionately known as the Nifty Fifty—you might be confused by that strange switch on the side of the lens. It doesn’t say AF/MF...