
DIY Video Studio is supported by its readers who use the affiliate links or ads on this site. As an Amazon Associate, I earn from qualifying purchases. Thank your support if you use any of the links.
Since the Blue Yeti is a USB microphone, it is normally used to record into a DAW on a desktop or laptop computer. However, the Blue Yeti also has another audio output for zero-latency headphone monitoring. In this article, I show how the analogue headphone output can be used to record onto a Zoom portable digital recorder. If you own a different make of recorder, such as a Tascam, the method should also work.
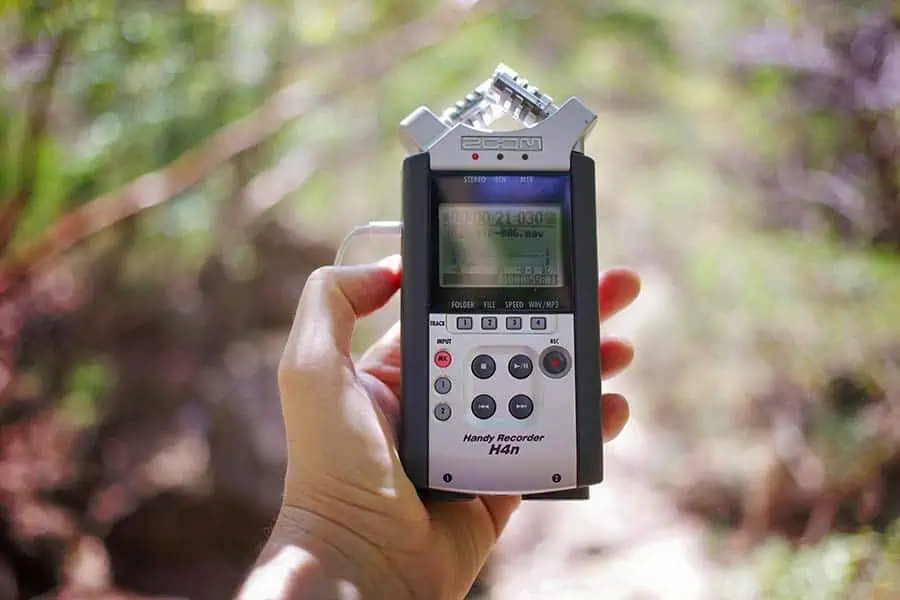
In this article, any instructions that refer to the audio recorder are for the Zoom H4n/H4n Pro. If you have a different Zoom recorder or a Tascam recorder you will need to adapt the instructions to match your device.
Connecting a Blue Yeti’s headphone output to a portable digital recorder
When recording with a Blue Yeti onto a computer, the USB cable allows the transfer of digital audio to the computer and supplies 5V USB bus power from the computer to the Blue Yeti. Although Zoom recorders, such as the H4n Pro, have mini-USB ports, they cannot be used to record with a USB microphone.
Nonetheless, it is possible to record with a Blue Yeti onto a Zoom portable recorder. We can do this by using the analogue audio signal from the Yeti’s headphone socket. Unfortunately, this connection will not provide electrical power to the recorder. This must be done through the USB port on the base of the Blue Yeti, using a suitable USB power source.
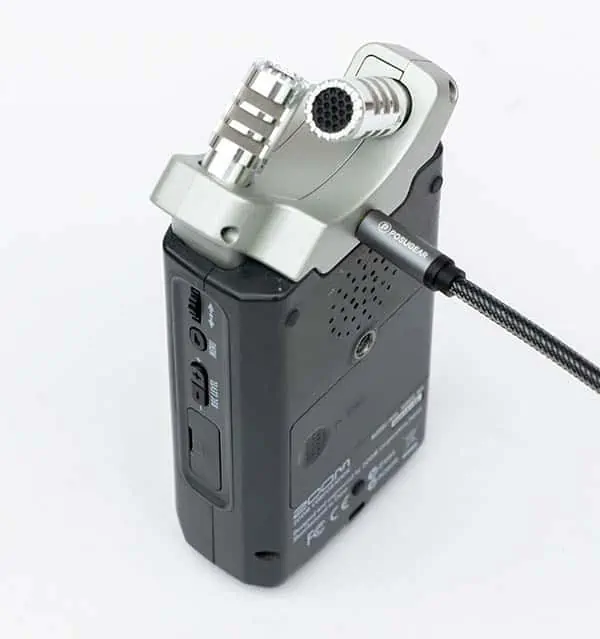
To connect a Blue Yeti microphone to a Zoom digital recorder, you need an aux audio cable, power from a computer or smartphone, and a USB cable. The aux cable connects the Yeti’s headphone output to a mic input on the recorder, while the USB cable connects the Yeti to a USB port on your device.
Although there are various types of USB sources, only two will power your Yeti and allow you to record into a Zoom digital recorder. I’ll explain in the following sections
How to power the Blue Yeti microphone

To operate properly, the Blue Yeti requires a 5V power source to be connected to the mini-USB port on the base of the microphone. But the power source must be a USB port on either a computer or smartphone. I prefer using my smartphone (Samsung A53 5G) because of the greater portability. If you try using a power bank or a USB hub, the Yeti’s power light will come on, but the headphone output will not deliver any audio.
Now, you quite rightly might say, if I’m going to connect to a computer, smartphone, or tablet, I might as well record on those devices.
Yes, you can record on those devices, but there are times when you might also wish to record on a Zoom digital recorder. For example,
- You need a more portable Blue Yeti recording setup
- A backup copy of your audio is required
- You will be using the multitrack capabilities of your Zoom recorder
Using a laptop or desktop USB port
Most computers have USB-A type outputs. In this case, you can use the original USB microphone cable that came with your Blue Yeti. Connect the mini-USB connector to the Yeti and the USB-A connector to a USB port on the computer.
More recent computers also have USB-C ports. These can also be used if you have a mini-USB to USB-C cable. I include details of a suitable cable in my article, Upgrade your Blue Yeti Microphone to USB-C for under $10.
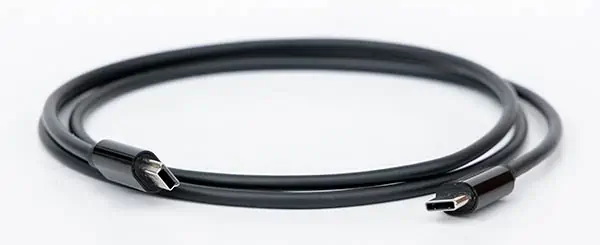
Alternatively, here’s a direct link to the Mini USB to USB C Cable![]() on Amazon. Plug the mini-USB connector into the Blue Yeti and the USB-C connector into a USB-C port on your computer.
on Amazon. Plug the mini-USB connector into the Blue Yeti and the USB-C connector into a USB-C port on your computer.
If you have not used the Blue Yeti on your computer before, your operating system will set up the microphone as a USB audio device. Once set up, the Yeti’s headphone socket will deliver an analogue audio signal.
Using a smartphone’s USB port
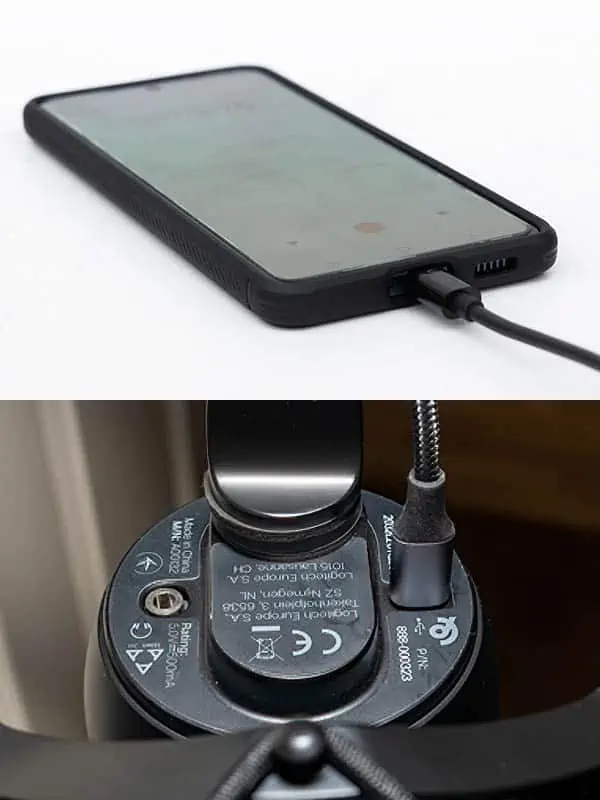
Modern smartphones and tablets have USB-C charging and data port connectors. Even new iPhones that use wired charging will also have a USB-C port sometime in 2023/24.
To use your smartphone as a power source for your Yeti you will need the mini-USB to USB-C cable I mentioned in the earlier section. Plug the mini-USB end of the cable into the Yeti and then plug the USB-C connector into your smartphone. The red light on You Blue Yeti should now come on, but you need to do one more thing for the headphone socket to deliver an audio signal.
You have to open a media creation tool, like the camera app or voice recorder app. In each case start a recording and then pause it. With this arrangement, the Yeti’s headphone socket will continue to produce an analogue output.
I’ve tested recording onto a Zoom H4n while powering my Blue Yeti from an Android Samsung A53 5G. Everything worked fine with the standard Camera app, the Open Camera app, and the Samsung Voice Recorder app. My preference is the voice recorder since less power is used.
Connecting the Yeti’s headphone output to the Zoom recording
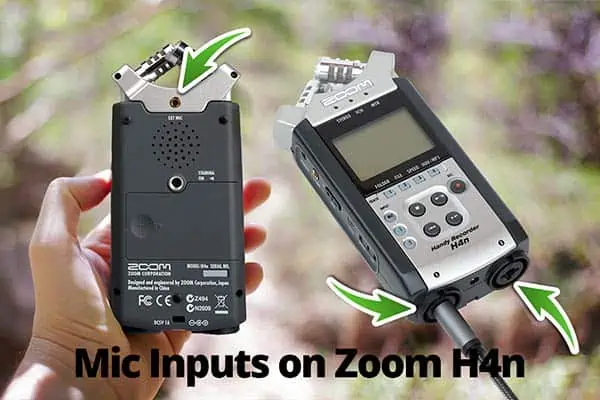
There are three microphone inputs you can use on a Zoom H4n and H4n Pro. You’ll find a 3.5mm socket on the back marked EXT MIC and there are two XLR mic inputs on the base. However, these are XLR and ¼-inch jack combo inputs. So, depending on the audio cable you have, you could use any of these mic inputs.
Connecting to the 3.5mm EXT MIC input
If you have a standard aux audio cable with a 3.5mm TRS jack at either end, you can use the 3.5mm EXT Mic socket on the back of the Zoom H4n or H4n Pro. You’ll find it just below the built-in microphone unit. Simply plug one end of the aux audio cable into the Blue Yeti’s headphone socket and then plug the other end into the Zoom’s EXT MIC socket.
Next, make sure your Yeti is connected to a computer or smartphone, and that the Mic input on the recorder is selected. Then press the record button once on the Zoom recorder to preview the audio signal.
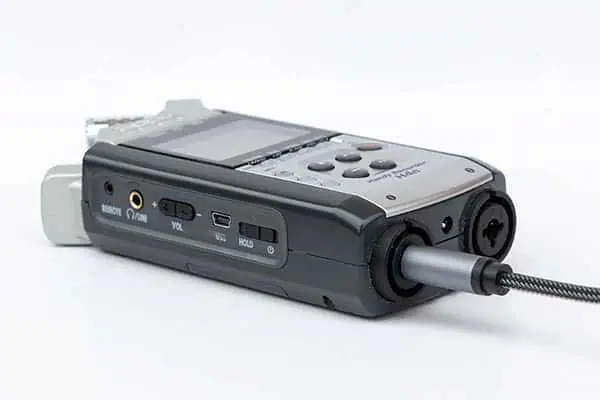
Connecting a Blue Yeti to the Zoom’s XLR/¼ inch jack combo mic inputs
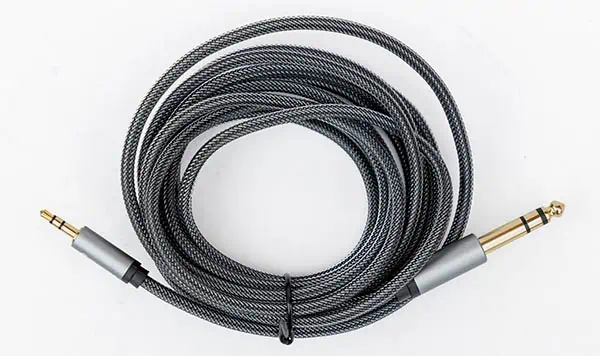
To use the XLR/Jack mic inputs on the base of the Zoom recorder you have two options. You can get an audio cable with a 3.5mm TRS jack at one end and a ¼ inch TRS jack at the other or use a standard 3.5mm aux audio cable with a 3.5mm to ¼ inch adapter at one end.
To use the XLR/Jack mic inputs on the base of the Zoom recorder you have two options. You can get an audio cable with a 3.5mm TRS jack at one end and a ¼ inch TRS jack at the other or use a standard 3.5mm aux audio cable with a 3.5mm to ¼ inch adapter at one end.
Whichever option you choose, plug the 3.5mm jack into the Yeti’s headphone socket, then plug the ¼ inch jack into the Input 1 socket (or Input 2 socket) on the Zoom recorder.
Next, with the Yeti powered from a laptop or smartphone, press the Input 1/2 buttons. Both will light up red when the XLR/Jack inputs have been selected. Your audio will only record on the channel that the Yeti is plugged into. If you want the Yeti’s audio to be recorded on both channels to produce a dual mono recording, you will need to make an adjustment in the menu system.
Press the Menu button on the Zoom recorder. Scroll to INPUT, and then ½ Link. Then select ON. Press the Menu button once and scroll to and select Mono mix, and again select ON. Finally, press the Menu button twice to exit the Menu.
What you have just done is sent the Input 1/2 to both channels and ensured that any use of the record level buttons applies to both channels. This will ensure your recorded audio files will be dual mono.
To record, press the Record button once to preview the audio level, and press the Record button a second time to start the recording.
Controlling the audio level
When using a Blue Yeti with a Zoom recorder, you have two ways of controlling the audio input level. You can use the headphone volume dial on the Blue Yeti, and/or the REC LEVEL buttons on the Zoom recorder.
If you have a Zoom H4n, you may know that the mic preamps are not as good as those in the H4n Pro. It just means the preamps are a little noisier on the H4n. To make your recordings as noise-free as possible, set the Zoom H4n record level low (below 30) and then use the headphone volume dial to adjust the audio level on the Zoom recorder.
Once you have set the input level set, start your recording.
You should be recording on both the left and right channels. If using the cardioid polar pattern, the recording will be dual mono, i.e., the same mono signal on both channels. If you choose the stereo polar pattern, the recording should be stereo.
Summary
Although the Blue Yeti has been designed as a USB microphone, it’s also possible to use the analogue headphone output to record onto portable digital recorders, including ones from Zoom and Tascam. However, you still need to connect the Yeti to either a computer or smartphone for power and to make it work. The only other thing you will need is an aux audio cable to link the Blue Yeti to the recorder.
You might also like…
Tosh Lubek runs an audio and video production business in the UK and has been using the Canon EOS R since it was released in the Autumn of 2018 and the Canon EOS R6 in 2020. He has used both cameras to shoot TV commercials broadcast on Sky TV, promotional business videos, videos of events and functions, and YouTube creator content. He has also won several international awards for his advertising and promotional work. You can meet him by visiting his “video booth” at HashTag Business Events across the country.
Recent Posts
Most people use sandbags the wrong way. Here’s how to hang them properly on a light stand for maximum stability and safety — plus what to fill them with.
You're Using the Canon RF 50mm f/1.8 WRONG! Here’s How to Fix It
If you’ve recently picked up the Canon RF 50mm f/1.8 STM—affectionately known as the Nifty Fifty—you might be confused by that strange switch on the side of the lens. It doesn’t say AF/MF...