
DIY Video Studio is supported by its readers who use the affiliate links or ads on this site. As an Amazon Associate, I earn from qualifying purchases. Thank your support if you use any of the links.
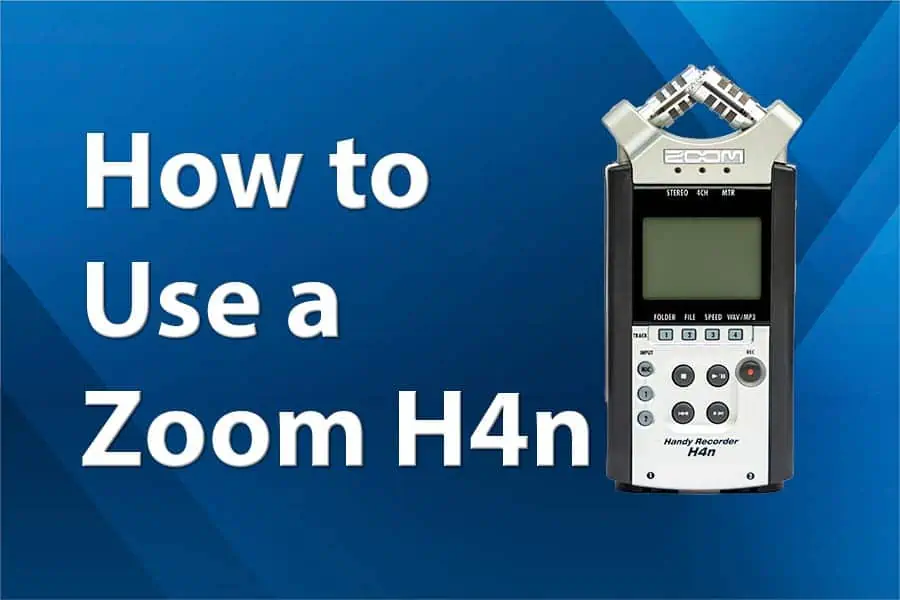
Looking to use your Zoom H4n to record yourself, an interview, or a podcast? The trick to capturing good quality audio with the H4n is to use one or more external microphones, either clip-on lavalier mics or professional XLR mics.
This is the approach that helped me produce a New York Festivals award-winning entry and many client videos.
You can use this step-by-step guide as a quick start guide by reading the opening of each section, then jumping forward. But if you require more detail, treat this article as a Zoom H4n tutorial by reading the full section before moving on to the next step.
Step #1: Use fresh batteries for each recording session
The Zoom H4n takes 2 AA batteries, which can be alkaline or rechargeable Nickel Metal Hydride (Ni-MH).
Remove the battery cover on the rear of the H4n by sliding it about 1/8th inch (3mm) to the right, then lift it off. The two battery slots show how each battery should be inserted. Note that there is a cloth ribbon in the compartment, this should go underneath the batteries to aid easy battery removal.
Step #2. Turn on the Zoom H4n recorder
To turn on the H4n recorder use the sliding switch on the left of the unit. It is marked with “HOLD” and a power ON/OFF icon. Pull it towards the base of the unit until the display becomes active, you can then let go and let the H4n boot-up. The Zoom H4n can be turned off in the same way.
TIP: The boot-up time depends on whether there is an SD card in the H4n and the capacity of the SD card. Without an SD card, the H4n is ready in about 10sec. With a 16GB card, it will be ready in about 30sec. If you are just making changes to your settings, remove the card before turning on the recorder.
Step #3: Set the Zoom H4n to STEREO MODE
By making sure the recorder is in STEREO MODE, the audio will be saved to normal 2-track stereo files, with a left and right channel.
To change the H4n mode, press the MENU button and use the scroll dial to select MODE, then press the scroll dial once. In the MODE SELECT screen choose STEREO and press the scroll dial once. This selects the stereo mode and the H4n will exit the menu system and the normal screen will be displayed.
TIP: You can quickly check which mode the H4n is in by looking at the STEREO/4CH/MTR mode indicator lights above the display window. The LED that is lit up, and the text below it, indicates which mode is currently selected.
Step #4. Choose the file format and audio quality
To change the format or recording quality on the H4n, press number 4 of the shortcut buttons below the display window. This will take you straight to the REC FORMAT screen in the menu. Use the scroll dial to select the required format and quality, then press the dial wheel to return to the normal screen.
You can also get to the REC FORMAT screen by pressing the menu button on the side of the H4n and navigating MENU > REC >REC FORMAT.
TIP #1: WAV 48kHz/24bit is a good choice for your original recordings. The audio files can be converted to any lower quality you require. The final quality for radio and podcasting should be WAV 44.1kHz/16bit. For video work use WAV 48kHz/16bit.
Tip #2: You can easily check the quality at any time. It is displayed on the left of the display, immediately before the file name. You will see an outlined box with the quality setting inside it. For example, 48/24 will be shown for WAV 48kHz/24bit and 192kbps for mp3 192kbps.
Step #5: Format the SD card if it is new, or to delete the recordings on a used SD card
If you are using a new SD card you will need to format it before using it. Formatting is also the quickest way to delete numerous old recordings on a previously used SD card.
To format an SD card in the H4n, press the menu button. In the MENU screen use the scroll dial to select SD CARD, then press the scroll dial. On the SD CARD screen select FORMAT and press the scroll wheel. You will be asked if you are sure, select YES, and press the scroll dial to proceed with formatting.
TIP: Although SDHC cards of up to 32GB can be used in the Zoom H4n, I recommend using a 16GB SDHC card (or 8GB if you can find one). This is because the formatting time will be shorter, but more importantly, when you turn on the H4n, the boot-up time will be quicker, and you can start recording sooner.
Step #6: Select the folder where you want the recordings to be saved
There are ten folders in which you can save your recordings, they are named FOLDER01 to FOLDER10. Once you have chosen a folder, all your following recordings will be saved in that folder. Changing the folder can be useful, for instance, when you want to keep files for the same project together.
To choose a folder press shortcut button 1, which is below the text, “FOLDER”. The FOLDER SELECT screen will open. Use the scroll dial to choose the folder you want to use, then press the dial wheel to return to the normal screen.
The H4n automatically names the files, starting from STE-000, and increments the numeric part of the name for each new recording.
WARNING: The naming system is not global. By default, the first recording in any of the ten folders will always be STE-000. To be even more confusing, if you start recording in one format (wav or mp3), then switch format, the first recording in the new format will start from STE-000. So you could have two files in the same folder with the same name, albeit with a different file extension.
Step #7: Plug in an external microphone or microphones
The Zoom H4n has built-in X-Y stereo microphones, so the recorder could be used like a handheld interview microphone. However, using external microphones makes it easier to record better audio. You can use microphones that are suited for your recording, place the microphones where they need to be, and avoid handling recording any handling noise.
When using the Zoom H4n in STEREO MODE there are two scenarios for using external microphones. You can either record with one lavalier/lapel microphone or record with up to two XLR microphones.
Strictly speaking, you could record with two lavalier microphones, but you will need a Y-splitter adapter with 1-male and 2-female connectors. With this basic setup, you will not be able to control the level from each lavalier mic independently.
I will cover the two scenarios: using a lavalier microphone and then using XLR microphones.
CONNECTING A LAVALIER MICROPHONE
To connect a lavalier/lapel microphone to an H4n, plug the microphone’s 3.5mm jack into the EXT MIC input socket on the rear of the recorder. The input uses a TRS connector, so you need a lavalier mic with a 3.5mm TRS jack or one that has a switchable TRRS jack, such as a Boya BY-M1 or MOVO LV1 mic.
If your lavalier microphone does not work, it could be because it requires plug-in power.
To use Zoom H4n plug-in power, press the menu button. In the MENU screen scroll to select INPUT and press the scroll dial. Then select PLUG-IN and press the scroll dial. From the options, choose ON and press the scroll dial. Do the reverse to turn off the plug-in power.
Lavalier mics that have their own battery power and on/off switches need to be turned on.
CONNECTING XLR MICROPHONES
XLR microphones should be connected to the XLR sockets on the base of the H4n using XLR microphone cables. Input 1 is on the left and input 2 is on the right. Dynamic microphones do not need phantom power, but condenser microphones do.
Zoom H4n phantom power can be turned on in the menu settings. First, press the menu button on the H4n. In the MENU screen scroll to INPUT and select it with a press of the scroll dial. Next, select PHANTOM in the same way. Finally, select +48V and press the scroll dial. To exit, press the menu button twice.
Step #8: Select the Zoom H4n Inputs to match the microphones being used
There is a column of three INPUT buttons on the left side of the recorder, you use these are used to select the microphone input.
To select the EXT MIC input and so the lavalier microphone, press the top button marked MIC. The MIC button will light up red. To choose the XLR inputs press either of the mic input buttons marked 1 or 2. The two buttons will light up red indicating they are the active inputs.
Step #9: Activate MONO MIX to have a dual mono output
Most lavalier microphones produce a mono signal, where the speaker seems to be in the middle of the mix. However, this is not the case when using XLR microphones on the Zoom H4n.
The audio from XLR mic 1 will be entirely on the left channel and XLR mic 2 will be entirely on the right channel. If you record yourself with a single XLR mic the result will sound odd. Your speech will only come from one loudspeaker or one side of the listener’s headphones.
To make the speech appear in the center of the mix we can activate MONO MIX in the menu settings. The resulting audio files will be easier to edit and mix.
To activate MONO MIX on the Zoom H4n, enter the menu by pressing the menu button. Then scroll to and select INPUT with the scroll dial. On the INPUT screen scroll to MONO MIX and press the scroll dial. Finally, select ON and press the scroll dial one last time. To exit the menu, press the exit button twice.
Step #10: Set the zoom h4n recording levels for each microphone
To set the Zoom H4n recording levels, press the REC button to put the H4n into record standby. The button will blink red. Now use the REC LEVEL buttons to adjust the level for the built-in or lapel mics. For XLR mics, select the input to adjust by pressing either INPUT 1 or 2, then use the REC LEVEL buttons.
According to the operation manual, the microphone levels can be adjusted from 1 to 100. However, on my Zoom H4n with firmware 1.90, the record level can be adjusted from 0.1 to 100. Between 0.1 and 0.9, one press of the REC LEVEL buttons changes the level by 0.1. From 1 to 100, each button press changes the level by 1.
The best recording level for the Zoom H4n is, AS LOW AS POSSIBLE, due to the noisy preamps. Ideally use higher output mics or add inline mic preamps. You can then use recording levels of 30 or less to avoid boosting the H4n mic preamp self-noise. Aim to peak the audio at about -18dB or -12dB.
Step #11: Do a test recording to check there are no problems
To avoid having to repeat a recording due to a fault, do a test recording. I usually incorporate this into the previous step of setting the recording level, but if you are new to content creation you may wish to keep the steps separate.
To start recording, press the REC button twice, alternatively, press the REC button once and then press the play transport button. You will see the recording timer advancing. To stop recording, press the stop transport button. For playback of the Zoom H4n recording press the play transport button.
In the test recording, get each person to speak normally. I often get them to say their name, the organization they represent, and their position within the organization. Then stop the recording and listen back. Do not listen on the built-in speaker, which is not good enough to hear any details. Instead, plug in headphones and check the recording for faults, such as hum, distortion, background noise, etc.
If everything sounds fine, go ahead with your recording.
Step #12: How to transfer your audio to a computer for editing
The easiest way to transfer recordings is to remove the SD card and insert it into your computer’s card reader, then access the audio files in the usual way. If your computer does not have a card reader, connect the H4n to your computer with a USB cable, it can then be used as a card reader.
If the H4n was switched-off before connecting, it will detect the USB bus power and boot up to the USB screen in the menu. However, I have found that it is better if the H4n is on.
Assuming you have connected to the computer with the H4n switched on, press the MENU button to open the MENU screen. Scroll down to and select USB, then press the scroll dial. On the USD screen choose STORAGE and press the scroll dial. A connection will be established, and your computer should recognize the H4n as an external drive. Copy and paste, or drag and drop, your files to your computer.
Once you have finished transferring your audio files, press the MENU button to disconnect. Eventually, the display will return to the default H4n screen.
Final thoughts
Despite being criticized for having noisy preamps, the Zoom H4n can still record terrific audio, especially if used with low-noise inline mic preamps. The H4n Pro, which has improved preamps, performs even better. Both provide flexibility to videographers, podcasters, and other content creators since excellent audio can be captured from either 1 or 2 microphones. More advanced users can use the 4CH mode and an adapter to record using 4 microphone inputs, with each microphone’s output being recorded onto a separate track. However, that is beyond this article.
You might also like…
- Zoom H4n Batteries: Powering the recorder
- How to Update Your Zoom Handy Recorder Firmware to the Latest
- Does Zoom H4n Have Phantom Power and XLR Mic Input
- Improve Zoom H4n Sound Quality by Reducing Noise or Hiss
- How to Power a Zoom H4n Recorder with a Power Bank
- MOVO LV1, BOYA BY-M1, & Vidpro XM-L, are they the same?
Tosh Lubek runs an audio and video production business in the UK and has been using the Canon EOS R since it was released in the Autumn of 2018 and the Canon EOS R6 in 2020. He has used both cameras to shoot TV commercials broadcast on Sky TV, promotional business videos, videos of events and functions, and YouTube creator content. He has also won several international awards for his advertising and promotional work. You can meet him by visiting his “video booth” at HashTag Business Events across the country.
Recent Posts
Most people use sandbags the wrong way. Here’s how to hang them properly on a light stand for maximum stability and safety — plus what to fill them with.
You're Using the Canon RF 50mm f/1.8 WRONG! Here’s How to Fix It
If you’ve recently picked up the Canon RF 50mm f/1.8 STM—affectionately known as the Nifty Fifty—you might be confused by that strange switch on the side of the lens. It doesn’t say AF/MF...