
DIY Video Studio is supported by its readers. Please assume links on this site are affiliate links or ads, and that I get commissions for purchases made through these links. As an Amazon Associate, I earn from qualifying purchases. Thank you if you use any of the links.
How To Create a DIY Video Background
At some point, you will want to put some text on the screen. Perhaps for the title of your video, end credits, a subheading, or top make a Video Sales Letter. In all cases, a good background can help make your video look interesting and professional. You can spend hours looking online for free video graphics to download or buy a stock video background. But if you are an iPhone videographer![]() you can create your own professional video backgrounds in minutes. This article is all about how you can create a unique DIY video background to include in your next video project.
you can create your own professional video backgrounds in minutes. This article is all about how you can create a unique DIY video background to include in your next video project.
To create your own video background, or still background, all you need is an iPhone (smartphone) and the standard camera app. We can use three approaches to create our DIY video backgrounds.
- Shoot footage (or a still) of unfamiliar objects or familiar objects shot in a slightly unfamiliar way.
- Shoot footage of objects that are close to the camera lens. Because the object is so close to the iPhone’s lens the object will be massively enlarged and thrown out of focus.
- Cover the iPhone’s lens with an object you normally think of as being opaque. However, when you place a bright light, like the sun or a lamp, on the other side of the object the iPhone lens will pick up transmitted light and result in a solid or graduated color image.
The resulting still image or video footage can be placed on your video editor’s timeline as a background for text or other graphics.
What all three methods have in common is that they just require a little creative thought, but nothing too strenuous. We just need to ditch what we think everyday objects look like and look at them in an unusual way.
Method 1 – Unfamiliar or familiar objects shot in an unfamiliar way

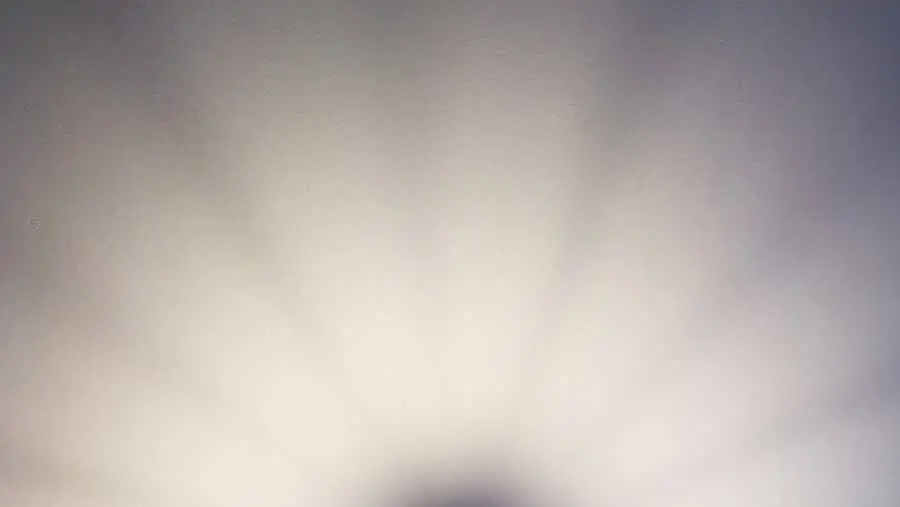
On the scale of a room, the light spreads out evenly in all directions. However, close-up, the CFL bulb produces shadow spokes around the ceiling rose. We could use this as an interesting pattern for a background.
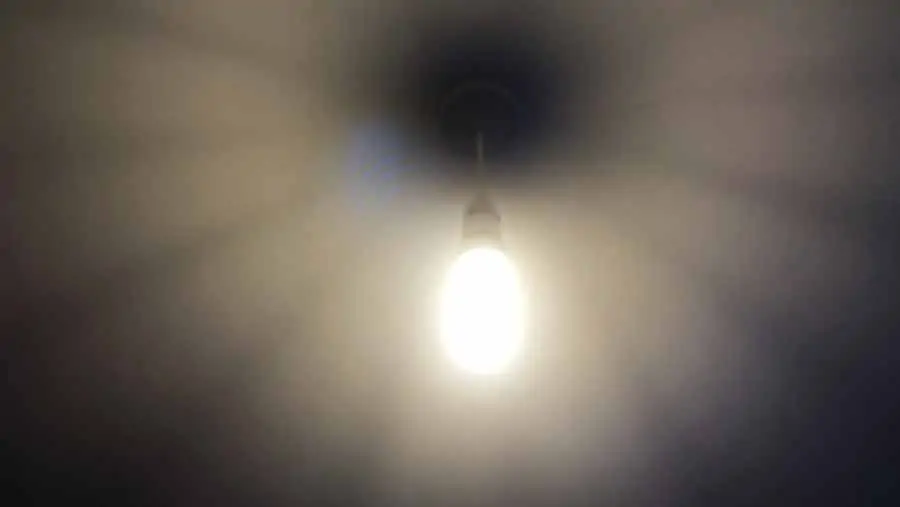
Frame the shot so the bulb and ceiling rose are just out of shot and record for about 10 seconds. If a longer background is required, we could record for longer, say up to 30 seconds.
Doing this handheld will inevitably introduce a little movement into the video background. If you are aiming for an organic aesthetic, handheld videography will be fine. But if you want the background to be rock solid, mount your iPhone on a tripod.
Fine tune the exposure, touch the screen until the exposure and focus lock are activated, then alter the exposure until you get the required look.
Here is the finished result in iMovie for iOS. The video background has iMovie’s Showdown effect and Vintage filter added, then text place above the video background.
Method 2 – Extreme Close-up shots
The second type of background we can create is by shooting extreme close-up shots of objects. By placing the object so close to the iPhone’s lens, the optics will not be able to focus properly. Don’t worry, that’s what we’re after. It will mean the object is thrown out of focus and the image will be pleasantly blurred.
Get the camera lens about 1 to 2 centimeters from the surface of the object. You will need to strike a balance between getting an interesting look while still letting in enough daylight from the sides. If necessary, you could use a couple of flashlights for additional illumination.
Example 1: A close-up of a brick
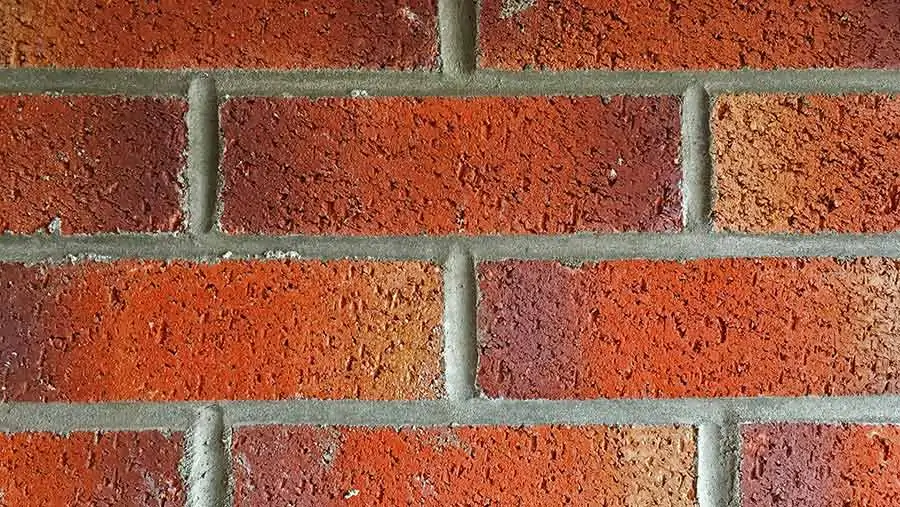
I’ve chosen to take some footage of the exterior of my house, specifically, part of the surface of a brick. For a more interesting look perhaps a weathered brick would be better or even one with a little moss or algae growing on the surface. Rusty metal, old plaster, rotting woodwork, and peeling paint would also be good textures to shoot and produce interesting video background.
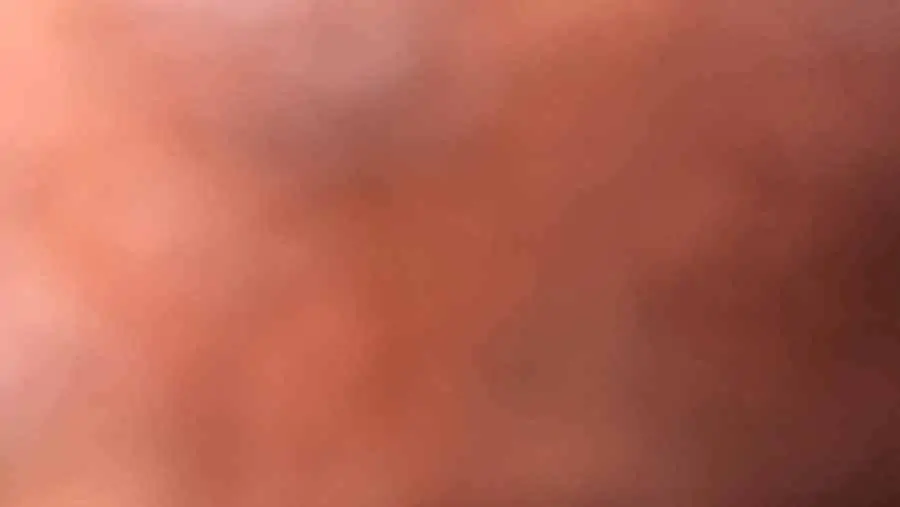
This is the resultant DIY video background after getting really close to the household brick. The image is nicely blurred, with a range of shade and light.
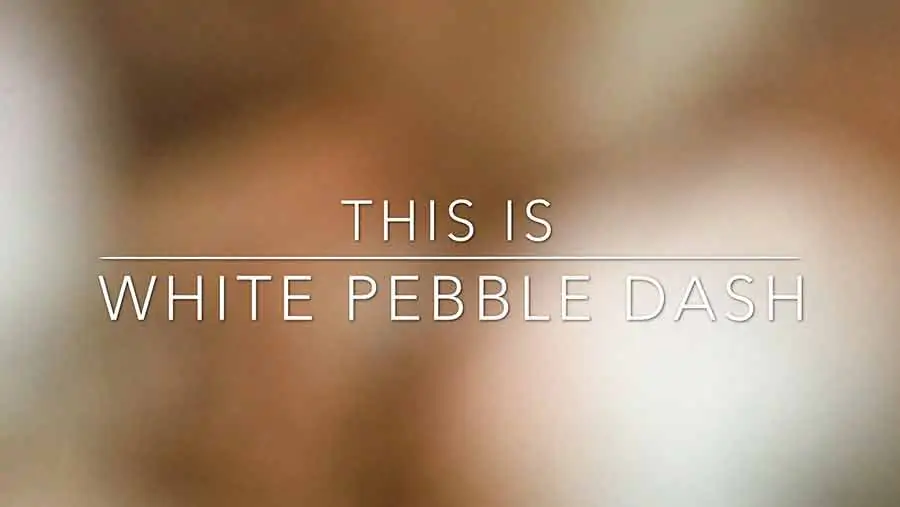
Example 2: Close-up of white pebbledash wall
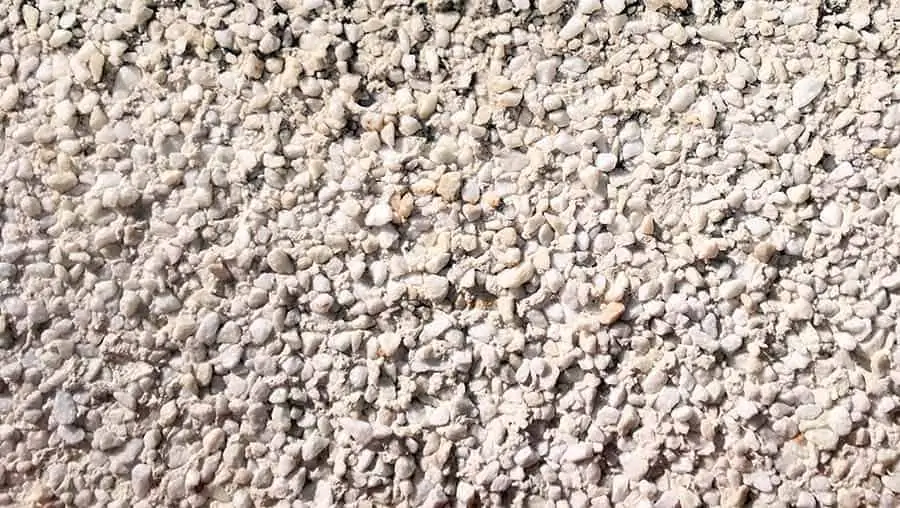
Pebbledash is a popular exterior wall finish in the UK, as well as many other parts of the world. They can also be quite varied, due to the variety of stone chips and mortar that is used. This offers the possibility of generating many video backgrounds from basically the same type of subject.
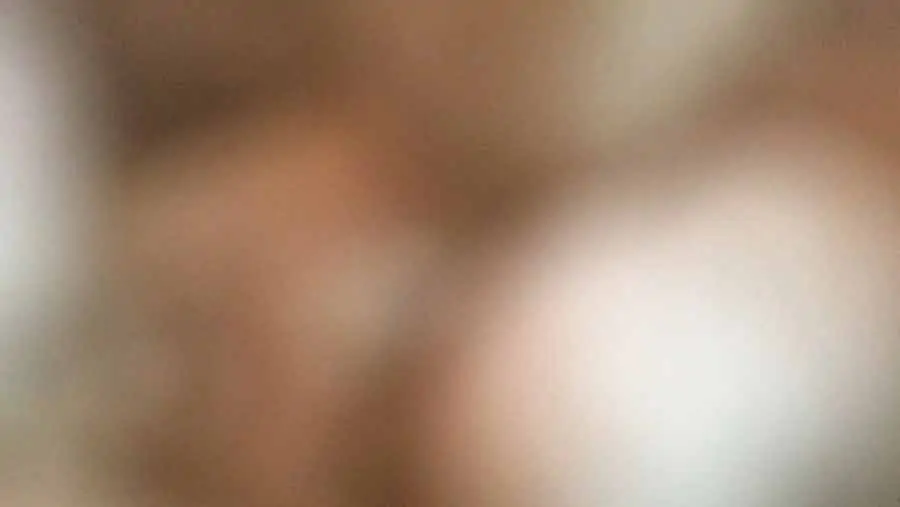
The light and shadow between the tops of the stone chips and the gullies between them will produce a really attractive variation in light and shade. Here is the resulting pebbledash video background. Even though the wall finish is predominantly white, with quartz chips, on close-up examination, there is some interesting color.
Finally, here’s the DIY video background with text
Method 3: Semi-opaque objects against the lens
Finally, this is where we put objects up against the lens and either use the sun as your light source or get close to a reasonably bright light.
Example 1: Colored paper
A solid color background is easy; all you need is some colored paper. I’ve got a supply of multi-colored sticky notes in the office that will be perfect for this job.
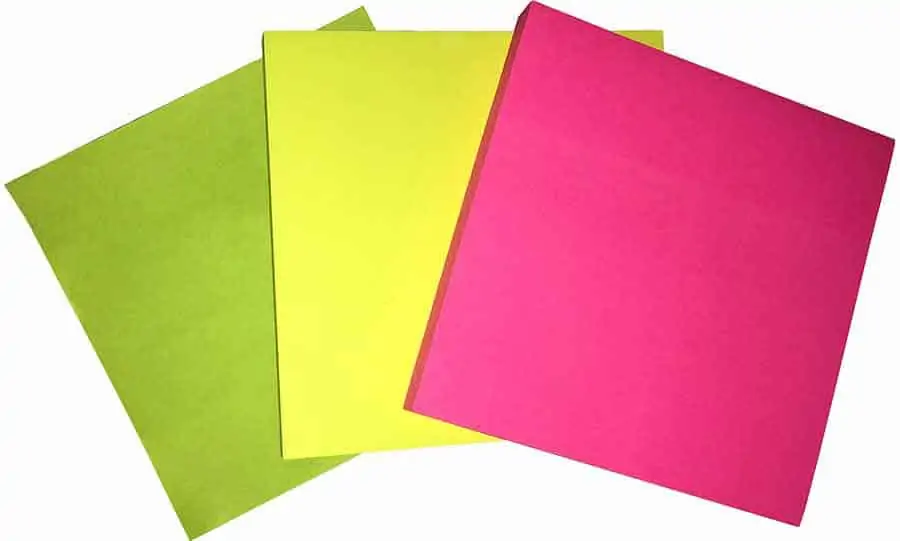
We just need to do is cover the lens on the iPhone and point it towards the sun or bright light. If you want more variation in the color, take a page out of a color magazine with some interesting and colorful graphics or images and use that against the camera lens and see how that looks.
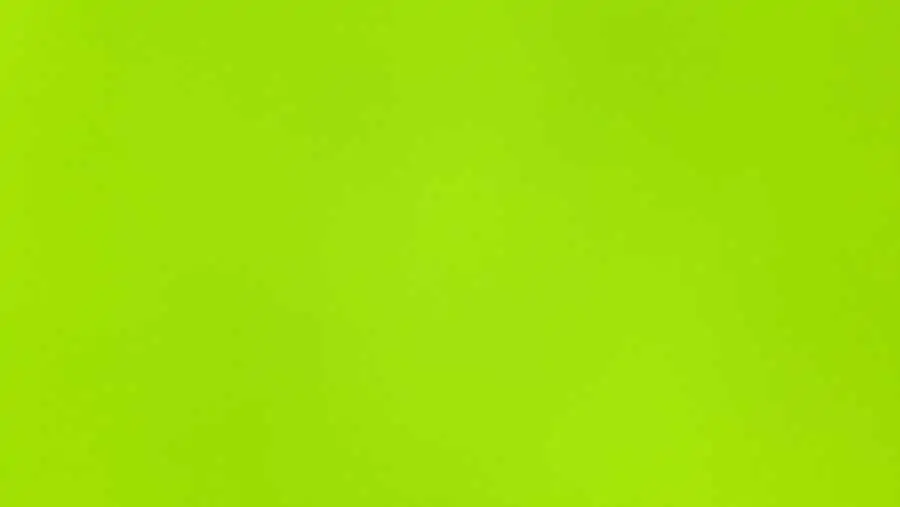
Here’s what lime green sticky-note looks like when placed against the iPhone lens and point towards the sun. It’s a solid color video background. Obviously, you can vary the color by choosing a different colored piece of paper.
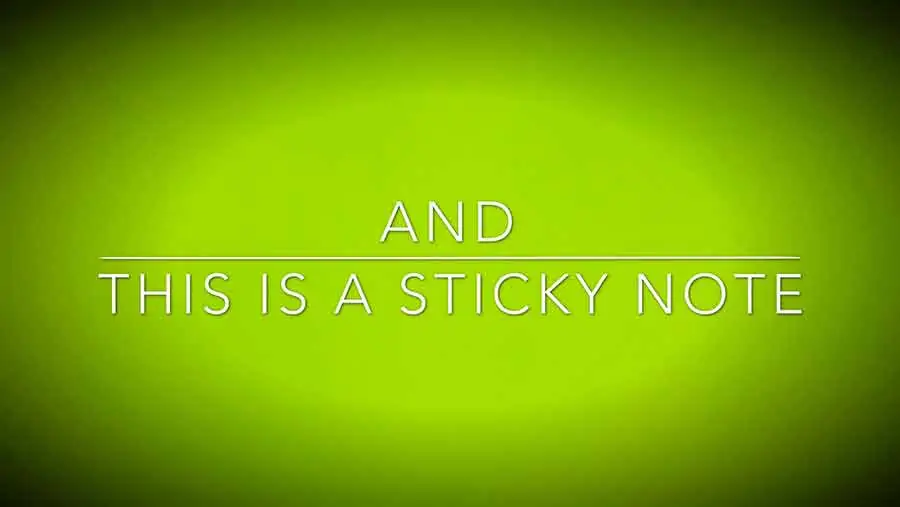
Finally, here’s what our sticky-note DIY video background looks like in a finished video with text superimposed. And iMovie’s “Blast” filter applied to create a vignette effect.
Don’t feel you’re restricted to items like paper or as thin as paper. Try out whatever you have at hand.
Example 2: Woolen Scarf
This is my grey woolen scarf folded over until it’s double thickness.
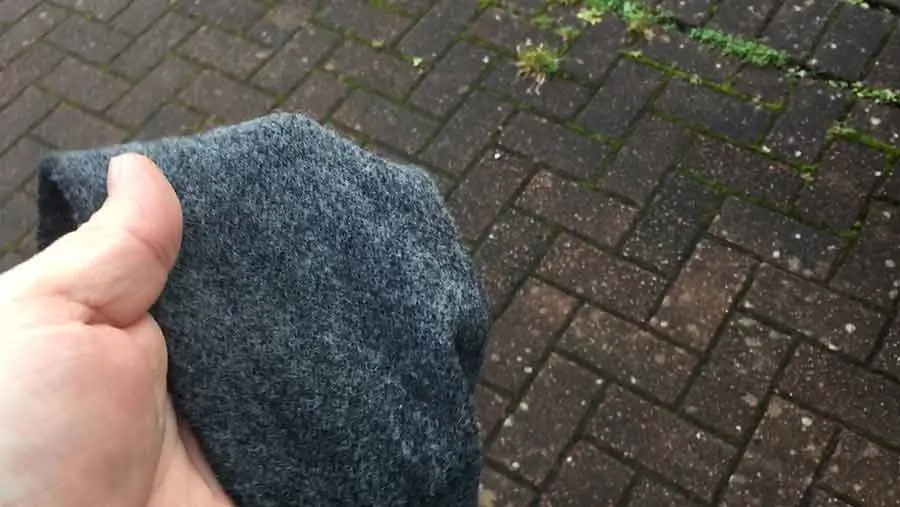
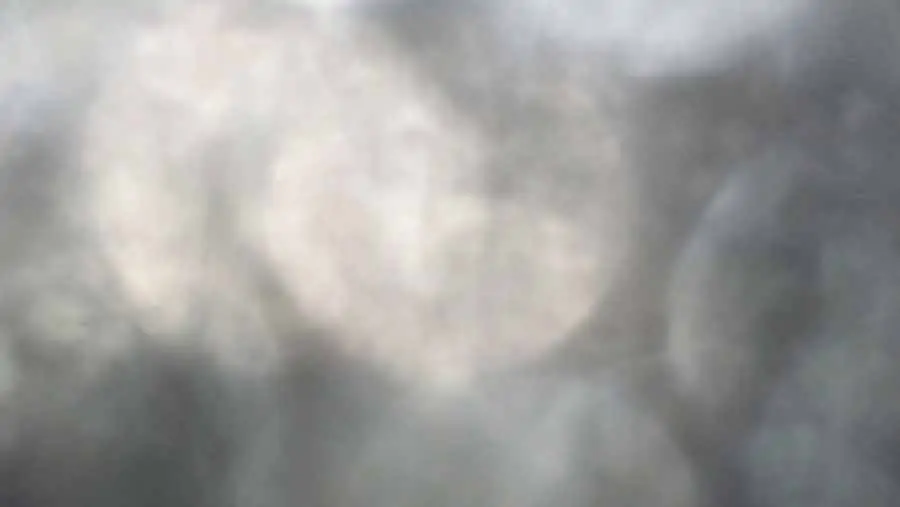
And again, once placed against my iPhone’s camera lens it makes an interesting visual effect that can be used as a video background. Obviously, if you want a different color, choose a scarf or woolen garment with the color you want.
Example 3: Frosted glass
I also tried the patterned glass of my front door. It’s got a decorative frosted double pane glass door.
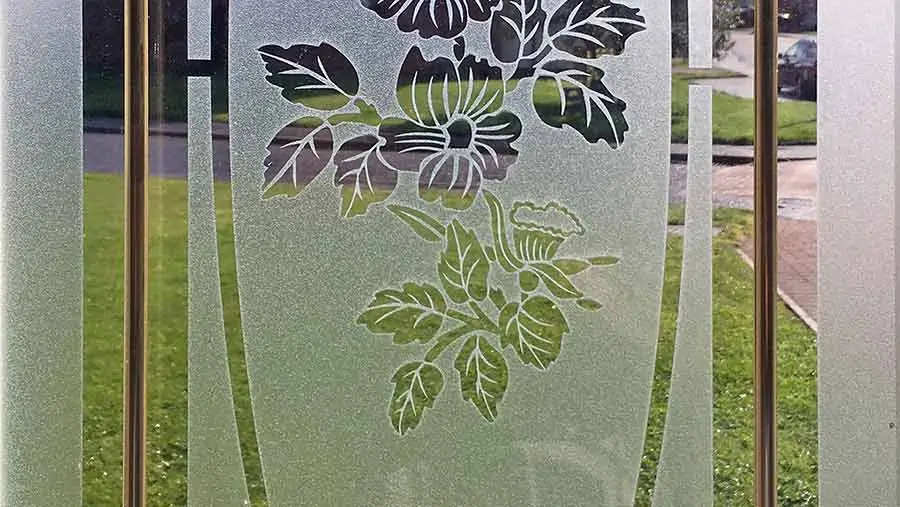
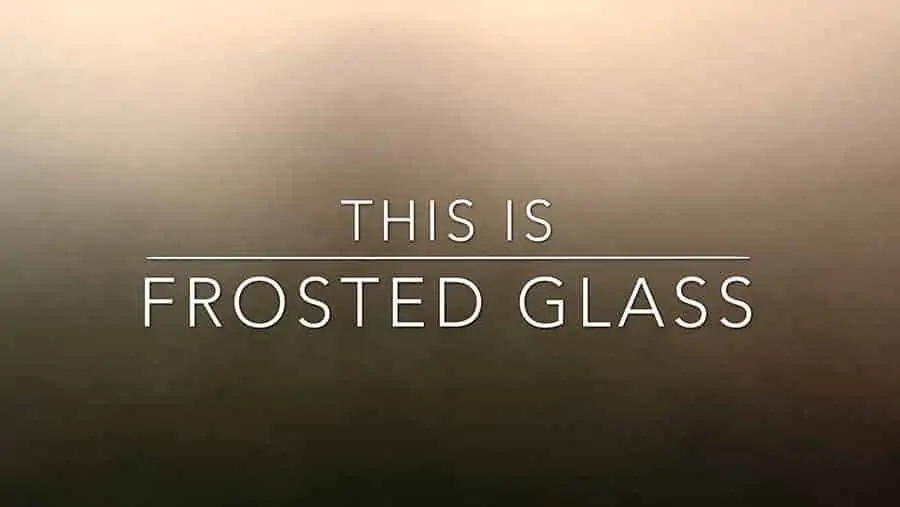
By placing my iPhone’s rear camera lens flat against the frosted glass, it naturally produced a blurred version of the scene beyond it. In this case, you can just make out that there’s a bit of green from my lawn, a hint of red from my car and the terracotta of the house bricks across the road. If you want, you can deliberately place some brightly colored or interestingly shaped objects beyond the frosted glass. The frosted glass gives a blurred effect.
Finally, here’s the video background with iMovie’s Western filter added and text added on top.
Example 4: Human blood
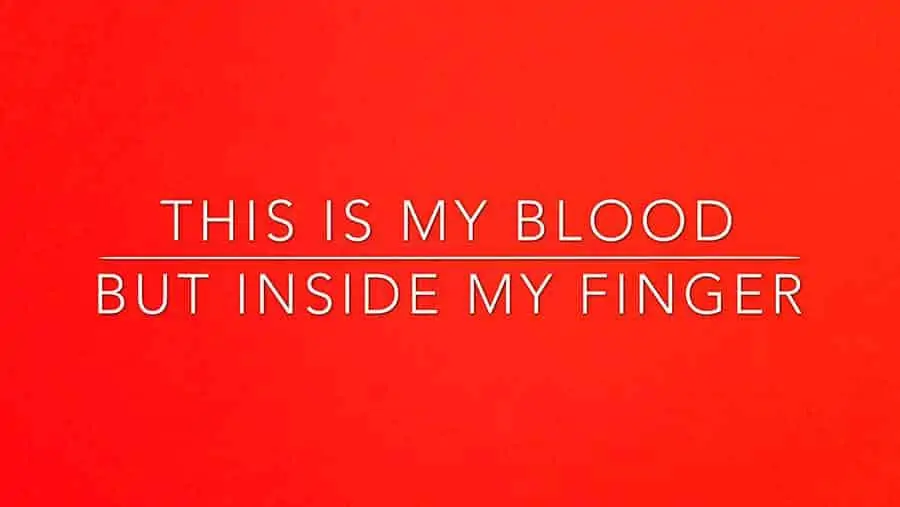
One last thing you can put in front of the lens when you have nothing else around you, unbelievably, is yourself. Specifically, what’s inside you, your blood.
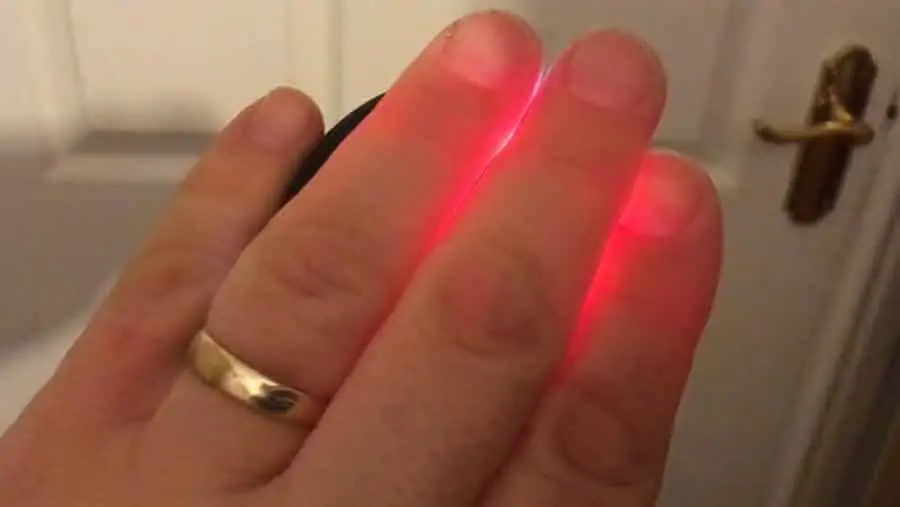
When I was five years old, I was given a torch or flashlight as a birthday present. It fascinated me that the light was bright enough to shine through the flesh of my fingers. If I put this LED torch behind my fingers and turn off the lights you can see, even with my now adult-size fingers, the light shines through.
The effect is even more pronounced if I do it in a darkened room with the lights turned off.
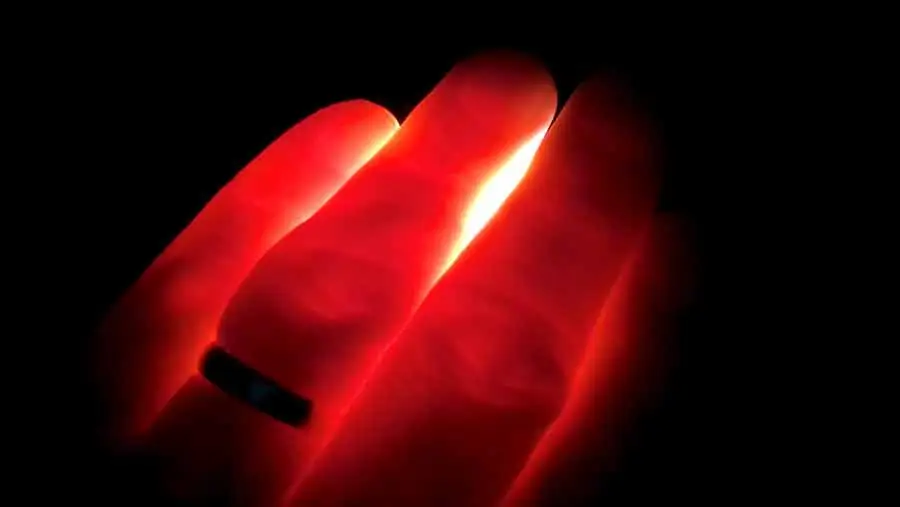
We’re effectively seeing the red of my blood. So right there at my fingertip, I should have a red background. All I need is the sun, even on an overcast day, and to put my finger over the iPhone’s lens. The automatic exposure adjusts itself and there’s a literally blood red background.
This is the finished result with text overlayed. If the red is too bright for you, tap and hold on the screen to go into exposure and focus lock and drag the brightness icon down to give a darker red.
So that’s what the DIY video backgrounds can look like, and each one took less than a minute to create. You can see how easy it is to produce backgrounds to use behind your text instead of plain black or white. There are literally thousands of potential backgrounds all around you. All you need to do is go out and start getting creative to build up your own collection of video backgrounds that will be completely unique to you.
My Favorite Content Creation Kit
Thank you for taking the time to read this article. Hopefully, you found it helpful in creating your own content for your social media and YouTube channels. I have listed some of the gear I use as a YouTuber and online course creator and hope you’ll also find it useful. I have recommended this equipment to my readers and my own family and friends.
Audio Recorder: I use Zoom digital recorders to capture good quality audio for videos, podcasts, and radio/TV advertising. Unlike SLRs the Zoom Handy recorders can record from multiple sources simultaneously, ideal if you have two or more people speaking. I’ve used the H4n![]() , H5
, H5![]() , and H6
, and H6![]() and would recommend them to anyone.
and would recommend them to anyone.
Camera: You can use your smartphone when starting out, but I’d recommend getting a Mirrorless Camera. I use both the Canon EOS R![]() and EOS R6
and EOS R6![]() . Both can shoot Full HD or 4K, and the Eye AutoFocus will keep you sharply in focus even if you move around. If your budget is smaller, I would recommend the Canon M50 MkII
. Both can shoot Full HD or 4K, and the Eye AutoFocus will keep you sharply in focus even if you move around. If your budget is smaller, I would recommend the Canon M50 MkII![]() .
.
Video microphone: Arguably, sound quality is more important than video quality, that’s why I use a Deity V-Mi![]() c D3
c D3 ![]() Pro super-cardioid shotgun microphone on my mirrorless cameras. It automatically powers on when I turn on my camera and powers down when I switch off the camera. But I also like the versatility of the mic. It automatically senses what device it is connected to ensuring it works with SLRs, camcorders, smartphones, Handy recorders, laptops, and bodypack transmitters.
Pro super-cardioid shotgun microphone on my mirrorless cameras. It automatically powers on when I turn on my camera and powers down when I switch off the camera. But I also like the versatility of the mic. It automatically senses what device it is connected to ensuring it works with SLRs, camcorders, smartphones, Handy recorders, laptops, and bodypack transmitters.
Video Lighting: Although daylight is my favorite lighting, I use LED lighting for all the videos I shoot indoors because good lighting can make a tremendous difference to the visual appeal of a video. For video calls on Zoom or Teams, I use the Lume Cube Broadcast Lighting Kit![]() . For YouTube videos and creating video tutorials for online courses, I love the Lume Cube 18″ Cordless Ring Light Kit. Both these lights are excellent, and I wouldn’t hesitate in recommending them.
. For YouTube videos and creating video tutorials for online courses, I love the Lume Cube 18″ Cordless Ring Light Kit. Both these lights are excellent, and I wouldn’t hesitate in recommending them.
Teleprompter software: I use the iCue teleprompter![]() app on my iPad when using it with a traditional beam-splitter teleprompter and control it remotely with the iCue Remote
app on my iPad when using it with a traditional beam-splitter teleprompter and control it remotely with the iCue Remote![]() app on my iPhone. On my PC I use Teleprompter Pro
app on my iPhone. On my PC I use Teleprompter Pro![]() from the Microsoft Store.
from the Microsoft Store.
Teleprompter hardware: Teleprompters help you present to the camera without needing to learn your script. When I need more screen space and the durability of an all-metal build, I like the Glide Gear TMP100![]() beam-splitter teleprompter. It works with my mirrorless cameras and uses an iPad or tablet to run the teleprompter software.
beam-splitter teleprompter. It works with my mirrorless cameras and uses an iPad or tablet to run the teleprompter software.
Tosh Lubek runs an audio and video production business in the UK and has been using the Canon EOS R since it was released in the Autumn of 2018 and the Canon EOS R6 in 2020. He has used both cameras to shoot TV commercials broadcast on Sky TV, promotional business videos, videos of events and functions, and YouTube creator content. He has also won several international awards for his advertising and promotional work. You can meet him by visiting his “video booth” at HashTag Business Events across the country.
Recent Posts
Most people use sandbags the wrong way. Here’s how to hang them properly on a light stand for maximum stability and safety — plus what to fill them with.
You're Using the Canon RF 50mm f/1.8 WRONG! Here’s How to Fix It
If you’ve recently picked up the Canon RF 50mm f/1.8 STM—affectionately known as the Nifty Fifty—you might be confused by that strange switch on the side of the lens. It doesn’t say AF/MF...